Hello, in this article I will show you how to scan a Java application using Maven and Fortify.
Pre-Scan Checks
In order to make a healthy scan, I recommend you to check the following items beforehand.
- Make sure that the codes are built with Maven on the terminal and the result is build success.
- Check if the Maven version of the application is supported by Fortify.
Scan Wizard
When Scan Wizard is run, the screen will be as below.

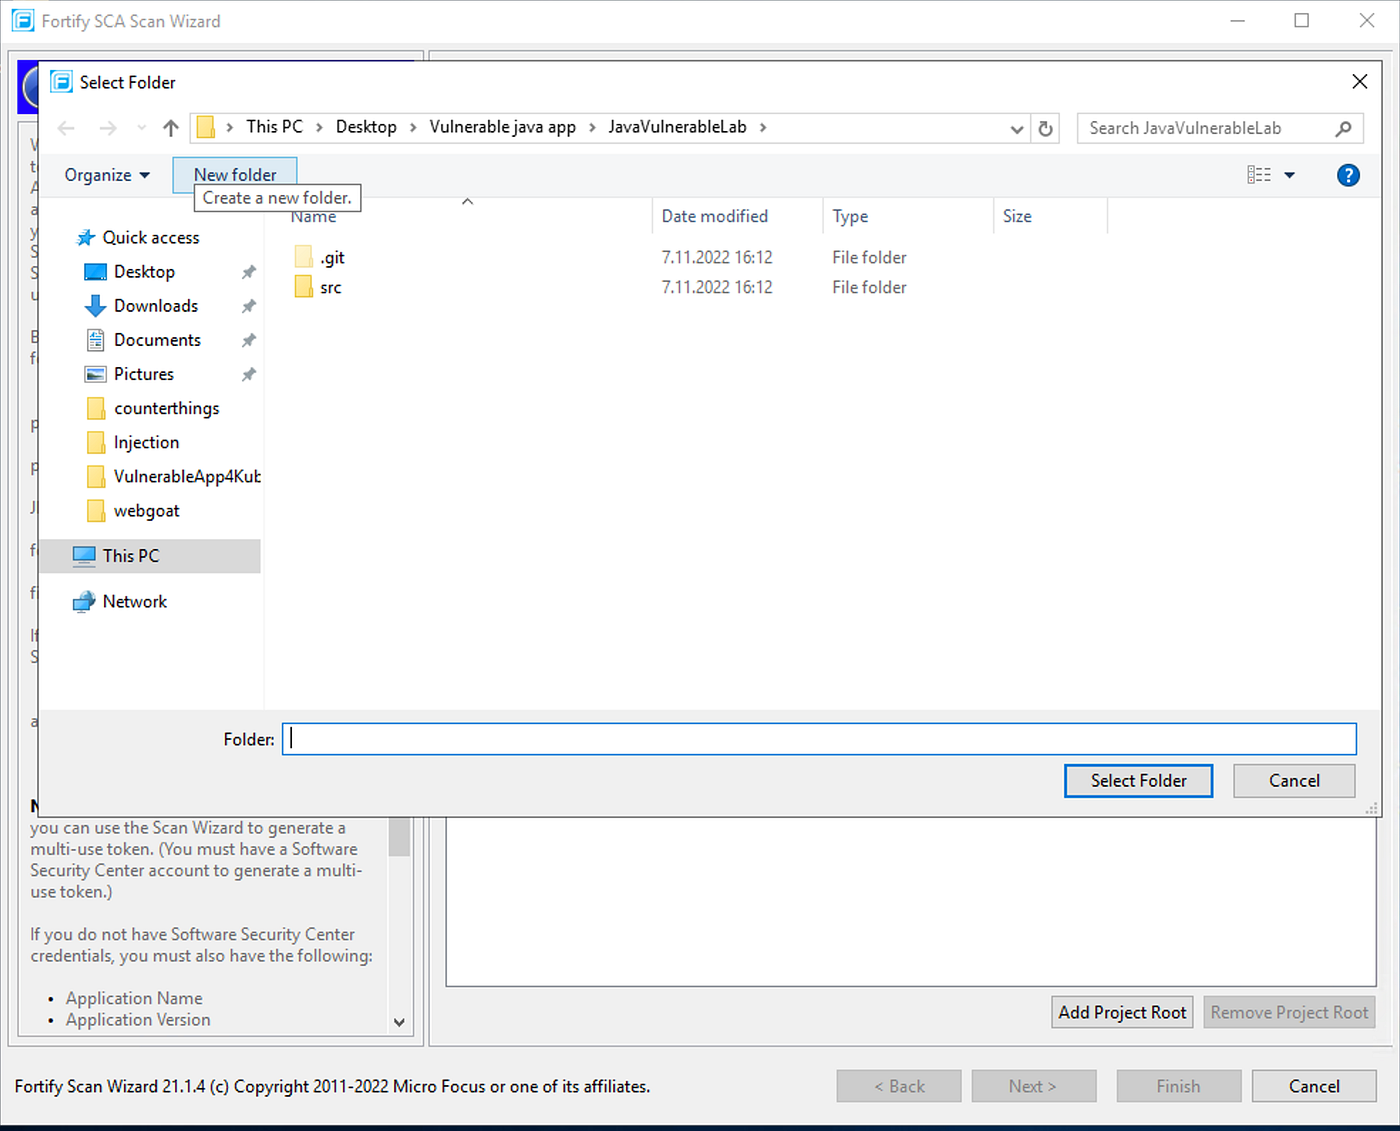
The first thing we need to do is to select the folder where the project to be scanned is located.
After making the selection, press next and we will see the screen as below. On the right side of the screen, we see that Java and related others files sections are selected and Maven sections can be selected at the bottom.
At this stage, Scan Wizard examines the files in the folder we provide, detects the language of the application to be scanned, and offers us a build tool option for this. Maven option are presented here.

We mark Maven and click next to move on to the next step.

Fortify will use Maven to scan. In addition, make sure that the “Build Integration Settings” section is like follows. After the controls, we move on to the next step.

Scan Wizard generates .bat for Windows and .sh file for MacOS/Linux while scanning. Since we will perform the scanning process on Windows, we want the .bat file to be created and we can position this batch file anywhere we want. Here I set the bat file to be included in the relevant project.
- Quick scan : Just scan for High and Critical vulnerabilities. (It can be selected to save time in large projects, but other level vulnerabilities will not be obtained.)
- Upload Scan to SSC : Uploading the FPR file created after scanning to SSC.
- ScanCentral scan : Scanning of the application is performed by ScanCentral connected to SSC.
- Include Custom Rule : It is the inclusion of personal rules created in the scan.
After we’re done here, let’s click next and move on to the next page.

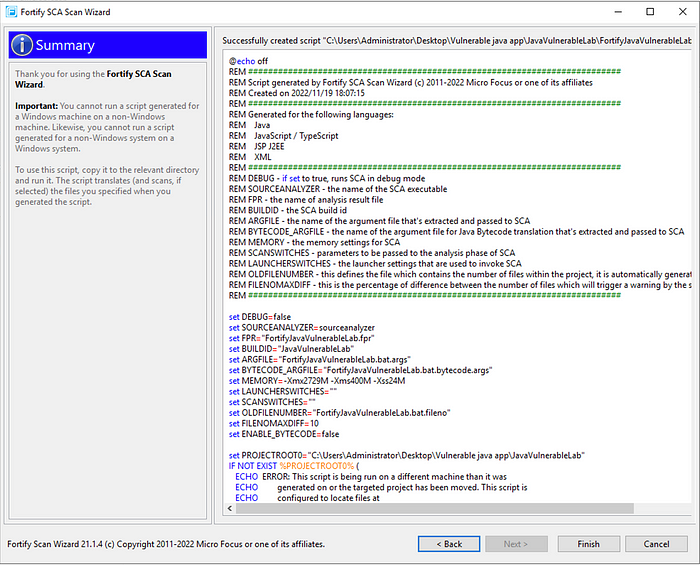
In this step, Scan Wizard shows us the bat file it will create as a summary. Here, if you want, you can come back and check or make changes on it by clicking back. I click finish button and finish the process.
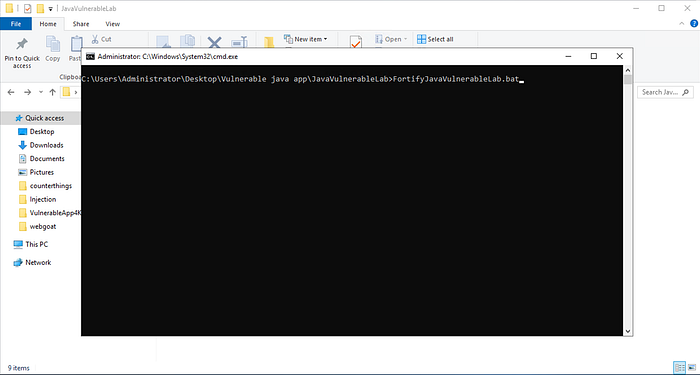
When I come to the relevant project and check it, we can see the bat extension scan file created by Scan Wizard. Here I come to the project directory via cmd.exe and make the bat file work.
If there is no problem during scanning, the screen will be as follows. After this step, you can open FPR and view the vulnerabilities.

Terminal
Scan with Maven
We open a terminal that looks at the location of the project to be scanned.
Before scanning, we build the relevant application with Maven and check whether it gives build success or not.
In this step, we will need to enter a command like the one below.
mvn clean package- mvn(Maven) : is a build automation tool used primarily for Java projects.
- clean : attempts to clean the files and directories generated by Maven during its build
- package : take the compiled code and package it in its distributable format, such as a JAR
We used many commands while building the related project. In some projects, these may not be enough for the build process. I recommend adding the different parameters added in the Maven step during the Fortify scanning phase, otherwise the build failed error may be generated and the fortify scanning may be interrupted because the expected parameters are not given.
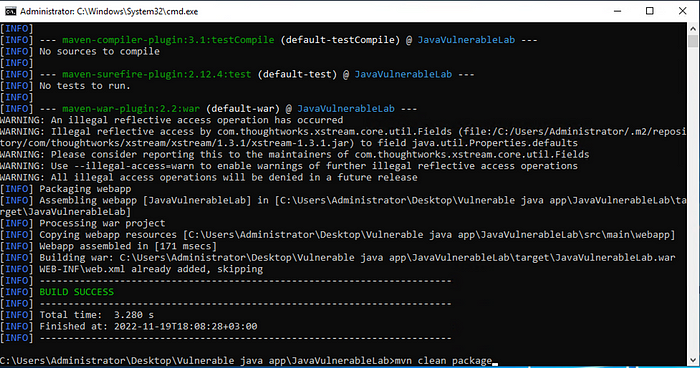
We ran the Maven command and got the Build Success output. Now we move on to the code scanning phase using Fortify.
In this step, we will need to enter a command like the one below.
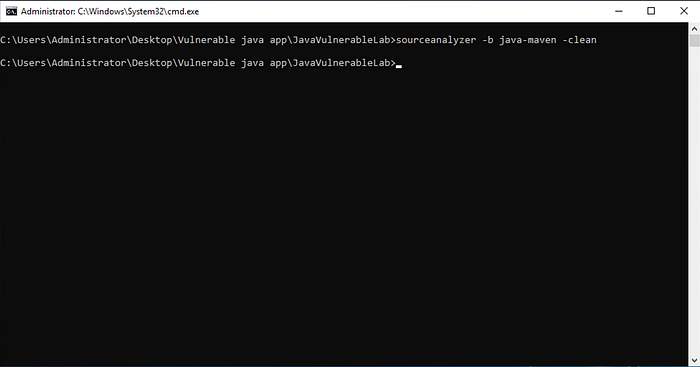
sourceanalyzer -b build-id -cleanThe explanations of the above command are as follows.
- sourceanalyzer : It is the executable file that Fortify uses to scan the source code.
- -b : You can think of it as a session in a web application. Here, Fortify will use the name we give when it wants to keep the data it obtained for the project to be scanned in a field and access this field.
- -clean : If there has been a scan using this name before, here we empty it using the relevant command. According to best practices, it is recommended to use this command before each scan.
After the clean process, Translation (the process of making the scanned codes understandable by Fortify) needs to be done. For this we enter the following command.
sourceanalyzer -b build-id mvn clean package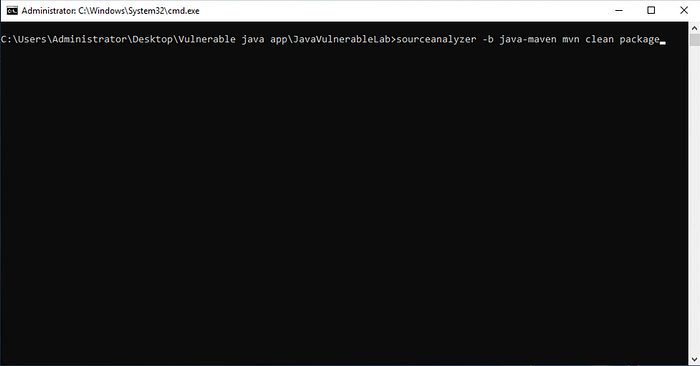
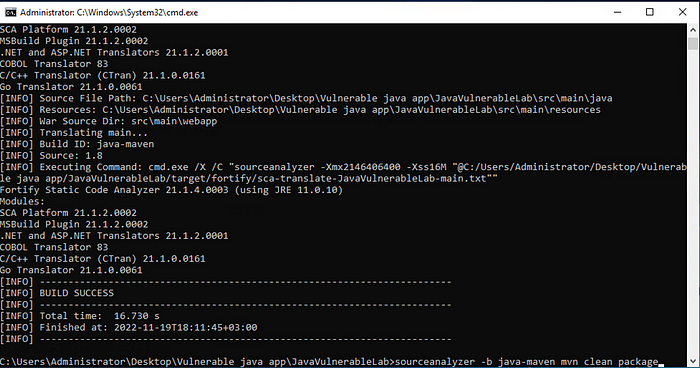
After the translation made using Maven, the screen will be as follows. What we need to pay attention to here is whether there is a “Build success” text.
If we see the build fail , it means that the project encountered an error while building it with Maven. It is necessary to resolve the related error and start scanning again. Since we see success, we can continue.
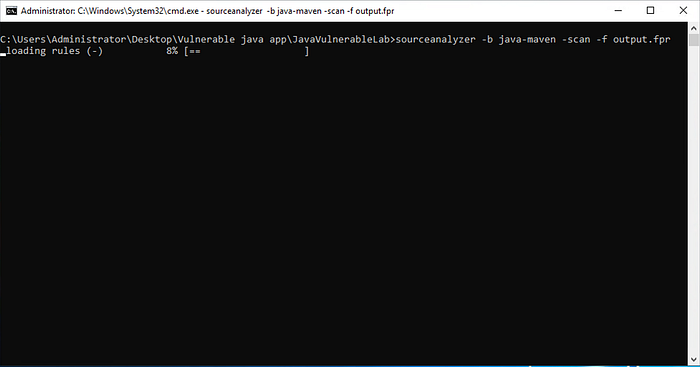
This step is the part where the codes built with Xcodebuild are scanned (Analyze) with Fortify and the outputs will be produced. For the analysis process, it will be necessary to enter a command like the following.
sourceanalyze -b build-id -scan -f output.fprThe explanations of the above commands are as follows.
- -scan : We use this parameter to start scanning on the files obtained during the Translation process.
- -f : We want an FPR file to be produced for the vulnerabilities detected after the scan. Here we specify the name of the FPR file to be produced.
“-f “ In scans where we forget the f parameter, the vulnerabilities will be written on the terminal.
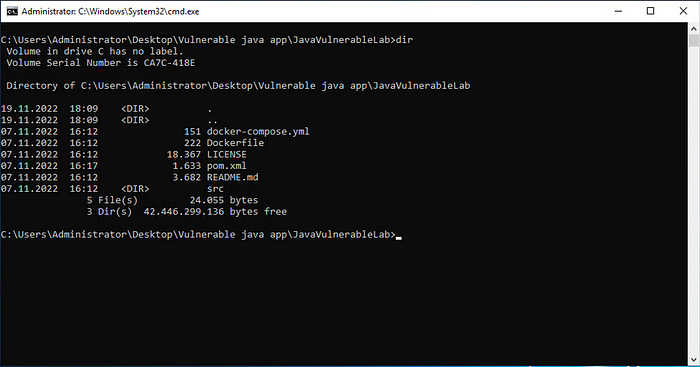
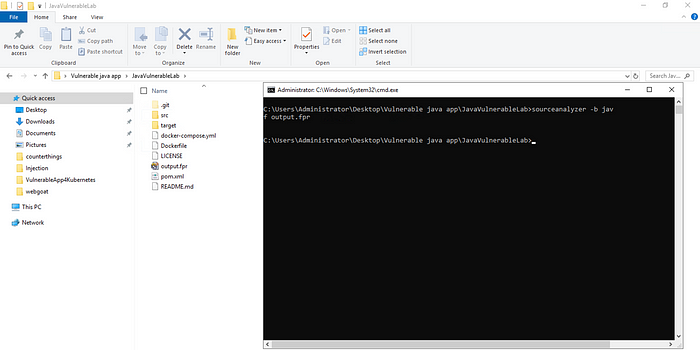
When the scanning operation is finished, the screen will be as follows. You can see that the FPR file is created when the folder where the application is located is checked.
Thank you for reading my post :)
